Choose a Payment Tier
Here you choose the payment tier that suits you best, depending on the features you want and the number of participants you expect. Each tier is displayed as a card — a rectangular box on the screen that summarizes what is included in that tier. A payment tier is a service package — each package offers different capabilities at a different price.
View Tier Details
You can get a detailed description of any tier by clicking the linked option "+8 more" on the tier card. This link is located at the bottom of each tier card — it is usually displayed in blue text and may be underlined, which means it is clickable. Clicking it will reveal a complete breakdown of everything included in that tier.
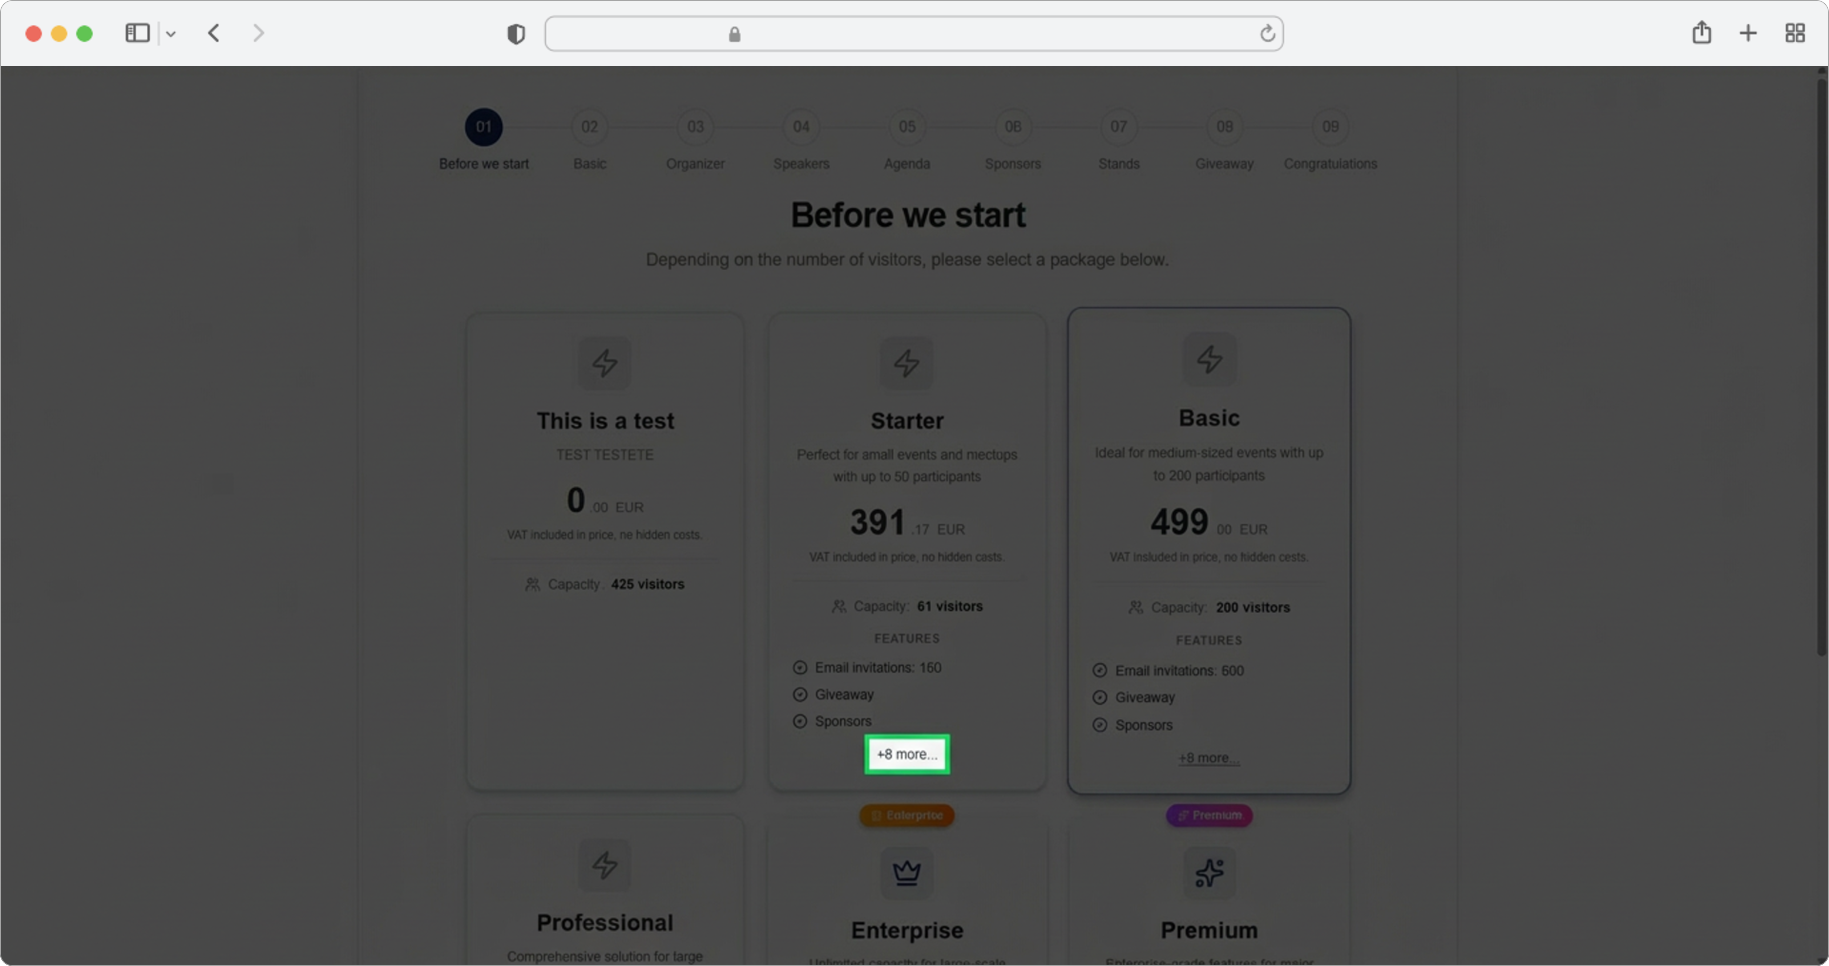
Review the Tier Card
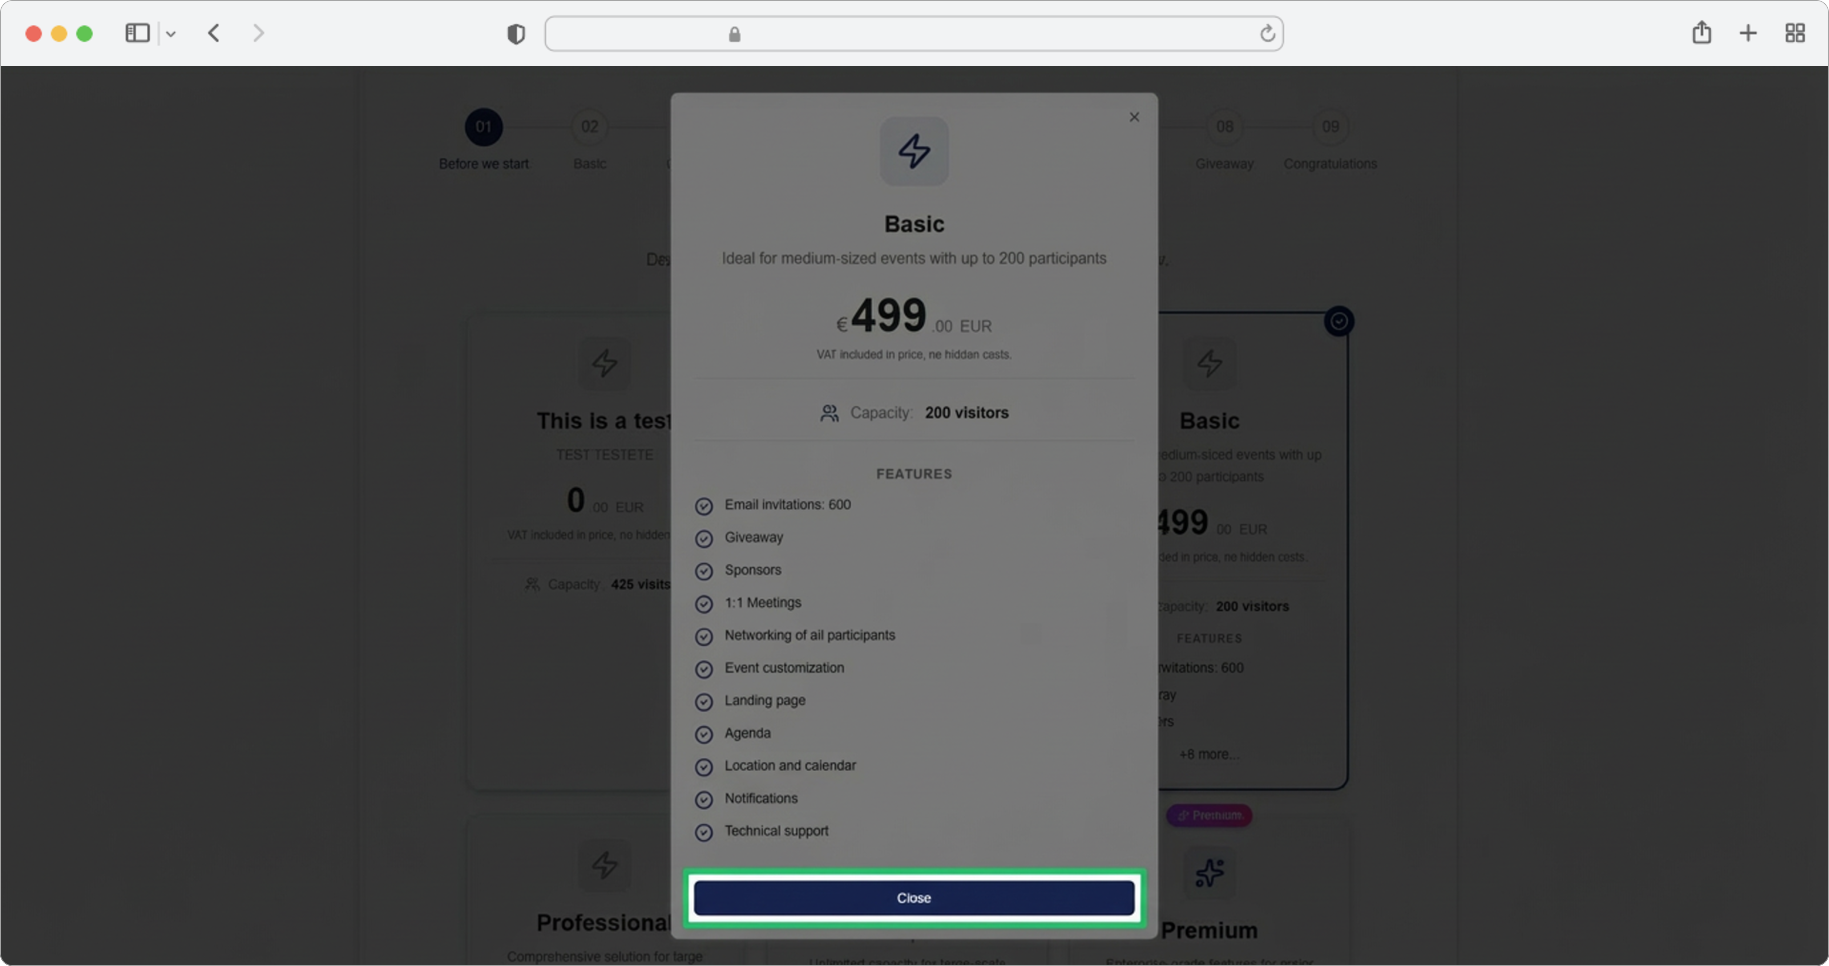
A card will open with all the details of the payment tier, including all the features it covers and the allowed number of participants. Take your time to read through the details and compare different tiers so you can make an informed decision.
When you are done reviewing, click the "Close" button to return to the tier selection screen.
Select Your Tier
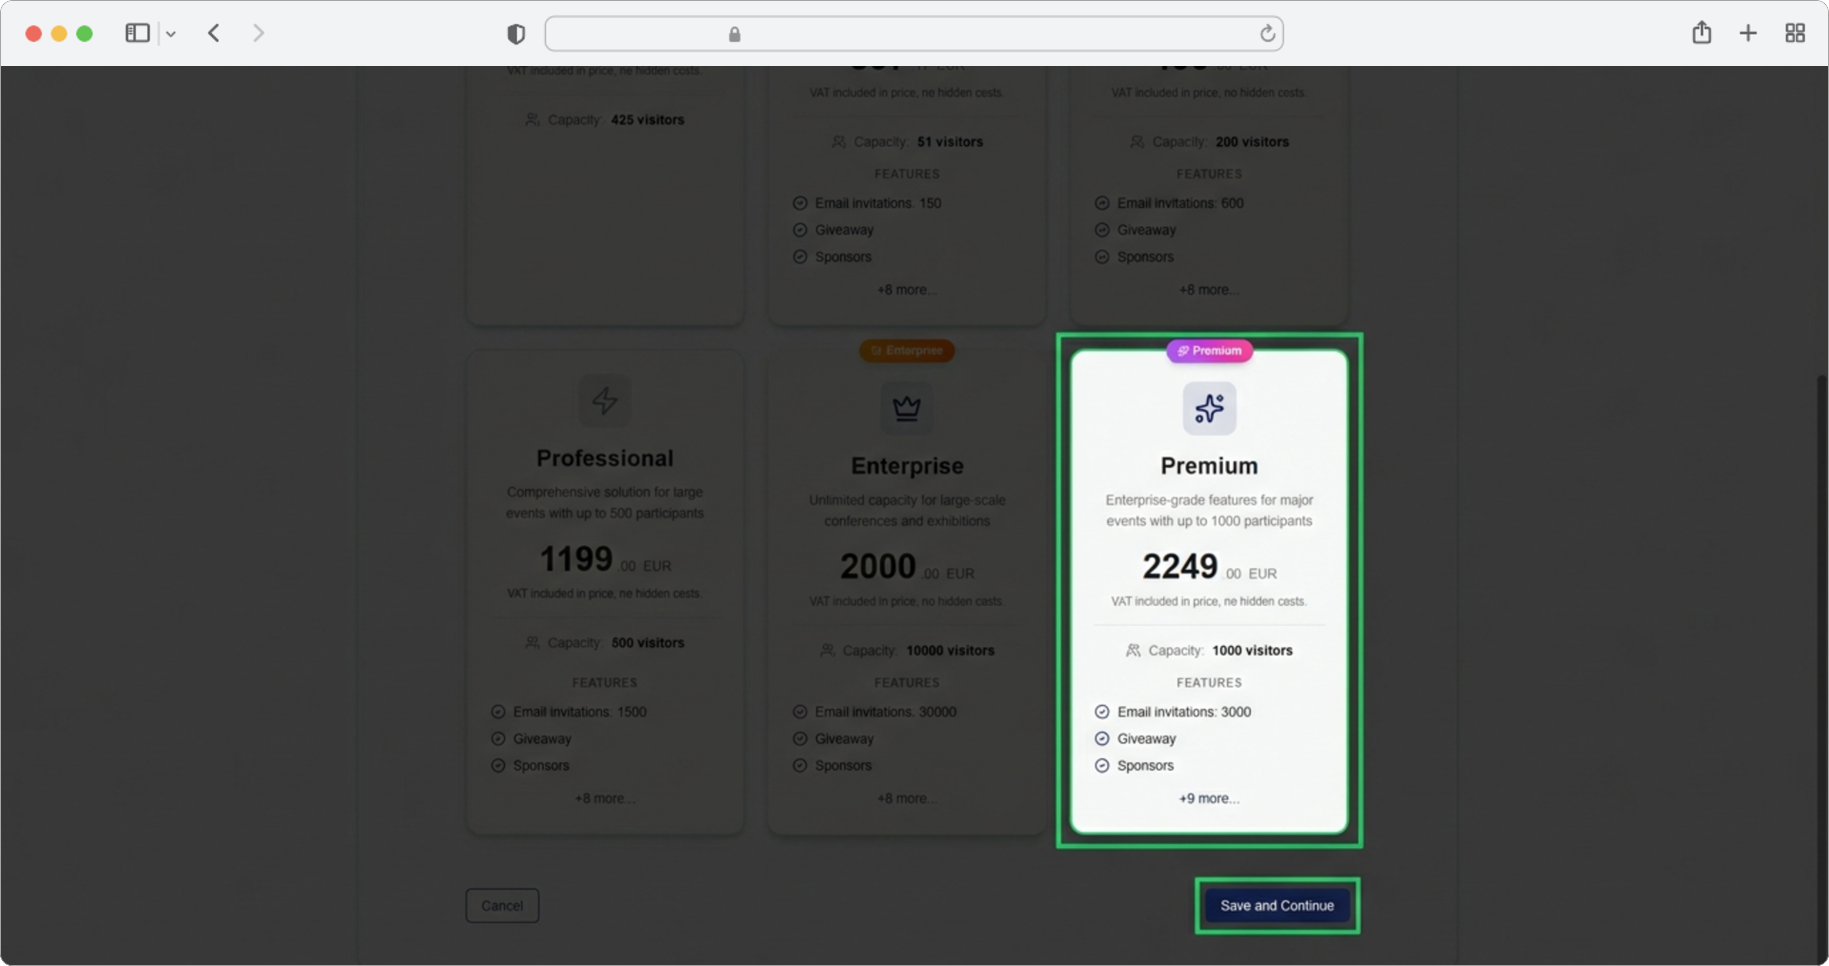
Once you have decided which tier works best for you, select the card with the payment tier that suits you most by clicking on it. The selected card will become visually highlighted (it may change its border color or background) so you can see which one you chose.
Then click the "Save and Continue" button to continue to the next step.
Not sure which tier to pick?
If you are unsure, start with the tier that matches your expected number of participants. You can always upgrade later if you need more features or a higher participant limit.
Editing a paid or published event's tier
When you reopen the wizard for an event that is already paid (status PAYMENT_COMPLETED) or published, step 1 switches to upgrade-only mode. A blue banner above the tier cards says: "You can only upgrade your current tier. Downgrades are disabled."

The tier cards follow three rules:
- The current tier remains selectable and is pre-selected, with a check badge. Selecting it again confirms that you want to keep the same tier; there is no tier change or extra charge.
- Lower-priced tiers are disabled and appear greyed out, so you cannot select a downgrade.
- Higher-priced tiers remain selectable. Select one and click Save and Continue to see the "Upgrade from Event Menu" dialog.

The dialog explains: "Tier upgrades for paid or published events must be completed from the event menu. Go to Dashboard, open the event actions (3 dots), and choose Upgrade Tier." Click Go to Dashboard, open the event's actions menu (3 dots), and select Upgrade Tier to complete the upgrade. To keep reviewing the tier step instead, click Stay Here.
Important
Your current tier is not disabled. Keep it selected when you do not want to change tiers. Choosing a higher tier does not finalize the upgrade on this page; complete it from the event actions menu.